How to Waterproof Your Van Shower | Van Conversion Bathroom
Wondering how to make sure your van shower is totally waterproof?
We’re breaking it down step-by-step, so if you’re thinking about putting a bathroom in your van conversion - this is the blog for you! Watch the video below for full instructions.
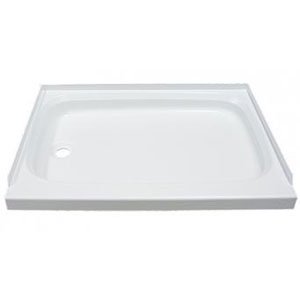
STEP 1: FIND A SHOWER PAN
First thing you’ll want to do is find a shower pan that will fit within the available space you have in your van. We love this 24” x 32” shower pan by Lippert Components.
STEP 2: FRAME YOUR BATHROOM
We use steel channels to frame our van bathroom - we love these steel studs because they are lightweight, won’t rot and are stronger than traditional 2 x 4s.
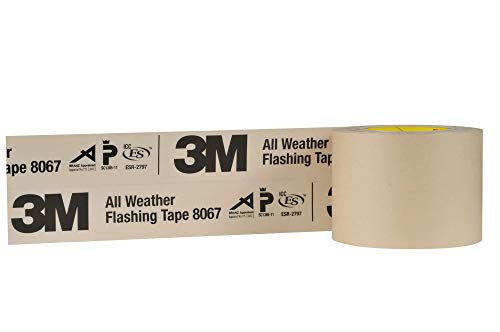
STEP 3: SEAL BETWEEN THE WALL AND THE TOP OF THE SHOWER PAN
You’ll want to use something like this 3M Flashing tape to ensure you have a seal at the top lip of the shower pan. This will make sure no water will be able to get in between the shower pan and the wall.

LOOKING FOR THE DIMENSIONS OF A VAN CONVERSION BATHROOM?
Get the floor plan of all of our van conversions including dimensions for the bathroom.

STEP 4: ATTACH FOAM BACKER BOARD
Instead of using heavy cement hardie board, we use a foam backer board. There are a few different products on the market:
Hydroban Board
Go Board
Wedi Board
You can usually find these products at a local tile shop like DalTile.
STEP 5: CREATE A WATERPROOF MEMBRANE
We use Red Gard tape and Red Gard Waterproofing membrane to ensure we have a complete watertight membrane over the top of our foam backer board. You’ll want to put 2 coats of the Red Gard Waterproof membrane on before you move to the next step.
STEP 6: ATTACH YOUR WALL MATERIAL
Figure out what type of wall material you’d like to use for your van shower, and attach it to the walls. We typically use a FRP board from Home Depot.
We’ve also used real tile before, and that worked great but it’s a LOT more work. It took us 5 days total to prep, tile and grout the bathroom. On the other hand, using a waterproof board only takes 1 day.
STEP 7: SEAL ANY ADDITIONAL CRACKS
We use Polyseamseal to caulk any corners or edges of the wall material to ensure we have a completely waterproof bathroom!